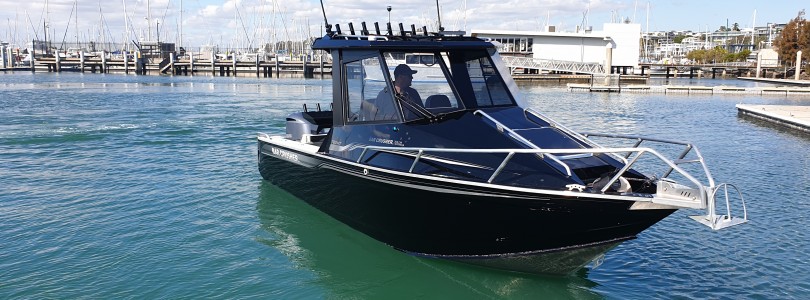


Over the last few months I have been fishing offshore out of my home base of Brisbane.
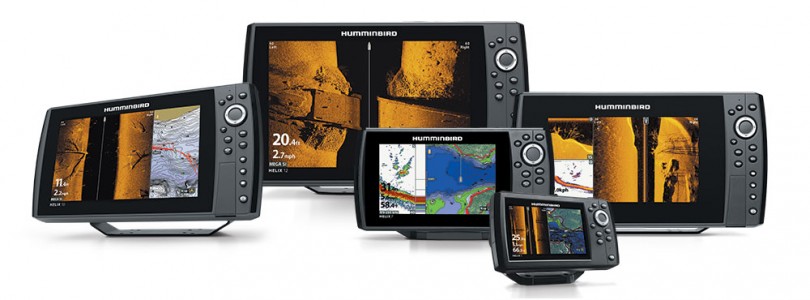
There are a couple of key functions that you need to use to get the best out of the Humminbird Helix. Firstly make sure the unit is in custom mode. To do this push the menu button twice, into the set up tab then arrow down to user mode and select “custom”
Secondly ensure you modify the “depth range” to suit the species you are targeting. This is a simply process once the unit is in custom mode. Hit menu when you are on the 2D sonar screen then in the list there will be upper and lower limit options. Do the lower limit first adjusting it down to just below the water depth you are fish e.g. if I am in 160 odd feet I will set it at 170 or 180 feet. Next step is to adjust the upper limit. The difference I set between the upper and lower limit will depend on the water depth I am fishing and the species I am chasing. In shallower water I will set it at say 20 feet and in deeper water in will be 50 feet.
Sensitivity and contrast are another two key functions that need to be fine-tuned to get the best out of your Humminbird Helix. The rule of them is the deeper the water fish the more sensitivity required. These are adjusted by selecting menu once you are on the 2D sonar screen and a separate option will come up for both.
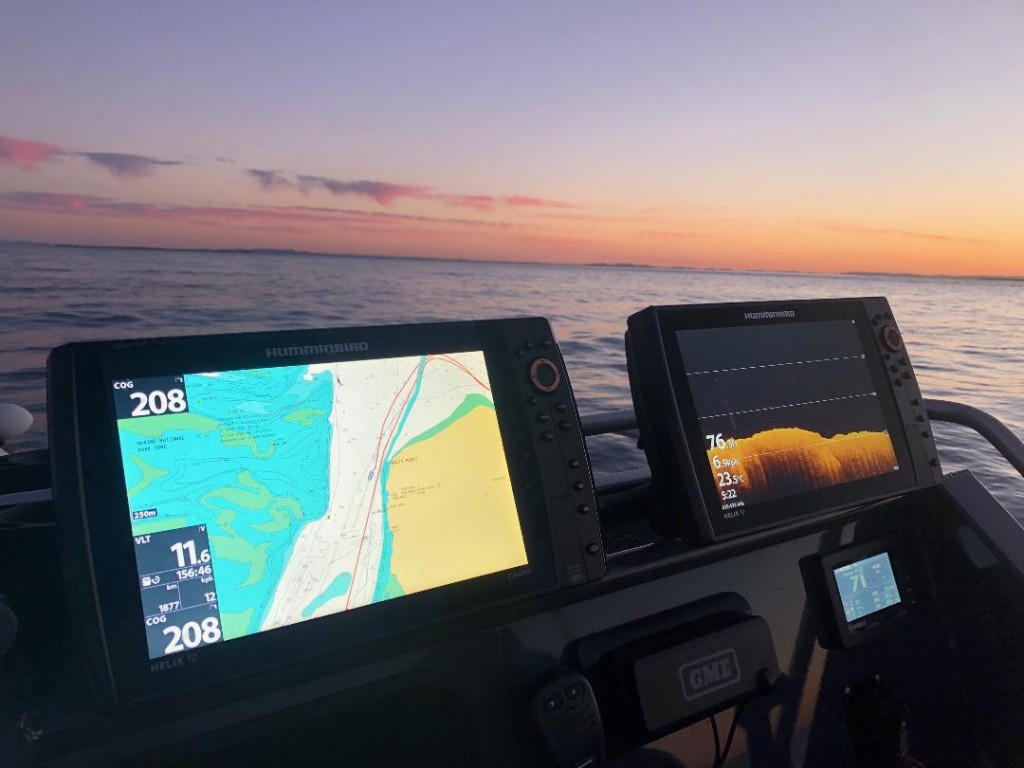
Below are a couple of screenshots from the Humminbird Helix. In the first shot you can see a fish rise from the bottom to grab a bait then head back down. This turned out to be a nice Red Throat Emperor. His mates are schooled beside him.
The other screen shot shows some big fish holding on the bottom of the ledge. Some big Coral Trout and Grass Sweetlip were caught here.
The old saying is find the bait and you will find the fish. The third screen shot shows a massive school of bait which were herring, yellowtail scad and slimy mackerel. We caught some nice snapper and pearl perch floating down baits here.